PCR Test
Our PCR test service offers accurate and timely results for the detection of Covid-19. You can trust us to provide reliable and convenient testing to help keep you and your community safe.
Select the Collection tube you received in your kit.
Instructions
This test is designed to test saliva that naturally pools in your mouth (for example when you think about a delicious meal).
It is very important that you do not try to force yourself to produce a saliva sample. Please do not cough anything up from your chest and please don’t sniff anything back from your nose and into your mouth.
This kit is for saliva collection only.
Do not deposit mucus, phlegm, blood, other substances, or foreign objects.
Do not use mouthwash for at least 2 hours prior to providing your sample.
01
Wash your hands for at least 20 seconds with soap and water, then dry thoroughly. Review the checklist:
- Sample labelled tube with detachable funnel
- Lid with liquid content
- Biohazard bag
- Prepaid USPS return label
01
Wash your hands for at least 20 seconds with soap and water, then dry thoroughly. Review the checklist:
- Collection vial with liquid content
- Sealed Swab
- Biohazard bag
- Prepaid USPS return label
01
For at least 30 minutes before saliva collection, it is important that you DO NOT eat, drink, brush your teeth, chew gum, or use nasal sprays. Doing any of these activities could cause you to get an incorrect result.
Wash your hands with soap and water for at least 20 seconds or clean them with alcohol-based sanitizer.
02
Make sure you don’t eat, drink, smoke, or chew gum for 30 minutes before collecting your sample.
02
Open and take the foam swab out of its package on the handle side. DO NOT touch the foam tip of the swab with your hands.
02
Double check your kit. You should receive the following:
- One (1) labeled screw-cap collection tube
- One (1) Funnel
- Two (2) single-use alcohol wipes
- One (1) biohazard bag
- One (1) prepaid return label
- One (1) UPS/Fedex laboratory pak (may not be included)
02
Double check your kit. You should receive the following:
- Collection kit sample bag
- Biohazard bag
- UPS laboratory pak (may not be included)
- Prepaid UPS return label
Remove everything from the collection kit, place them in front of you and set the bag aside. Avoid touching the inside of the funnel.
Before providing your sample, first carefully read through the instructions below to familiarize yourself with how to provide a good saliva sample for testing.
Remove everything from the collection kit, place them in front of you and set the bag. Avoid touching the inside of the funnel.
03
Fill the tube with your saliva up to the black wavy line on the side of the tube (excluding bubbles).
03
Insert the tip of the cotton swab into 1 nostril. You should not be able to see the cotton end once inserted. Swirl the swab in a circular motion at least 5 times to ensure accurate results.
Do the same for the other nostril.
03
Pick up the funnel and the collection tube and position yourself as shown:
Swallow once to clear your mouth. Imagine eating your favorite food, think about an upcoming meal or even a sour lemon and allow saliva to pool in your mouth – be patient and this will start to collect.
- Remember to avoid coughing or sniffling.
Hold the funnel up so that it surrounds your mouth and gently release the saliva that has pooled in your mouth into the funnel.
- Please do not ‘spit’ as this can cause droplets or aerosols to spray out at you.
The goal is to collect enough saliva so the tube is half-filled. Please note that any bubbles that may also collect in the tube do not count towards the final volume.
- Be patient, don’t force it and just keep thinking about food and you’ll get there!
03
Open collection kit sample bag and remove all contents. Take sample collection tube and saliva straw out of sterile package. Unscrew collection tube cap and insert ridged end of saliva straw into tube.
04
Replace the funnel with the fluid cap and screw it tightly to release the solution that will stabilize the DNA of your saliva.
Once the lid is secured, shake it up and down in a diagonal direction for 5 seconds to mix the sample.
Write down the Barcode/Kit ID found on the tube to get your results later on.
04
Unscrew the top of the collection tube.
Place the swab into the collection tube. The end of the cotton swab that went into your nose should be placed into the tube first so that it sits down in the liquid.
Screw the top of the collection tube back on.
- Write down the Barcode/KIT ID found on the tube to get your results later on.
04
Once you have collected enough saliva, unscrew the funnel from the collection tube and tightly screw the cap back onto the collection tube.
- Ensure the cap is secure before proceeding to the next step.
- Write down the Barcode/KIT ID found on the tube to get your results later on.
04
Pool saliva in mouth and push saliva into tube until at least half full (1 mL).
05
Wash and dry your hands thoroughly. Place your sealed tube into the biohazard bag. Use the zip lock seal on the biohazard bag to close it securely. Fold the biohazard bag in half.
05
Wash and dry your hands thoroughly. Place your sealed tube into the biohazard bag. Use the zip lock seal on the biohazard bag to close it securely. Fold the biohazard bag in half.
05
Use the alcohol wipe to wipe your hands and the collection tube, but DO NOT wipe the printed part of the label.
05
Remove and discard straw and securely cap collection tube. Also, write down the Barcode/Kit ID found on the tube for getting your results later on.
06
Make sure the specimen is securely sealed in the biohazard bag. Place it into the box and close the lid.
06
Make sure the specimen is securely sealed in the biohazard bag. Place it into the box and close the lid.
06
Place the closed collection tube into the biohazard bag. Discard the alcohol wipe and used funnel. Wash your hands thoroughly with soap and water or clean them with alcohol-based sanitizer.
06
Place the closed collection tube into the biohazard bag.
07
Place the biohazard bag into the box.
07
Place the biohazard bag into the box.
08
Click the shipping label courier in your kit.
10
Stick the return label on the back of the bag and place the box inside.
10
Stick the return label on the front of the bag and place the box inside.
09
Flip the box over and stick the included UN3373 sticker on the bottom where it won’t be covered by the return label.
10
Flip the box over and stick the included UN3373 sticker on the bottom where it won’t be covered by the return label.
08
It is important to ship your sample the same day you collect it. You may ship your kit back via USPS through any one of the following options below:
12
It is important to ship your sample the same day you collect it. You may ship your kit back through the following option below:
11
It is important to ship your sample the same day you collect it. You may ship your kit back through the following option below:
Drop off your package in a USPS center
Place the package in your mailbox

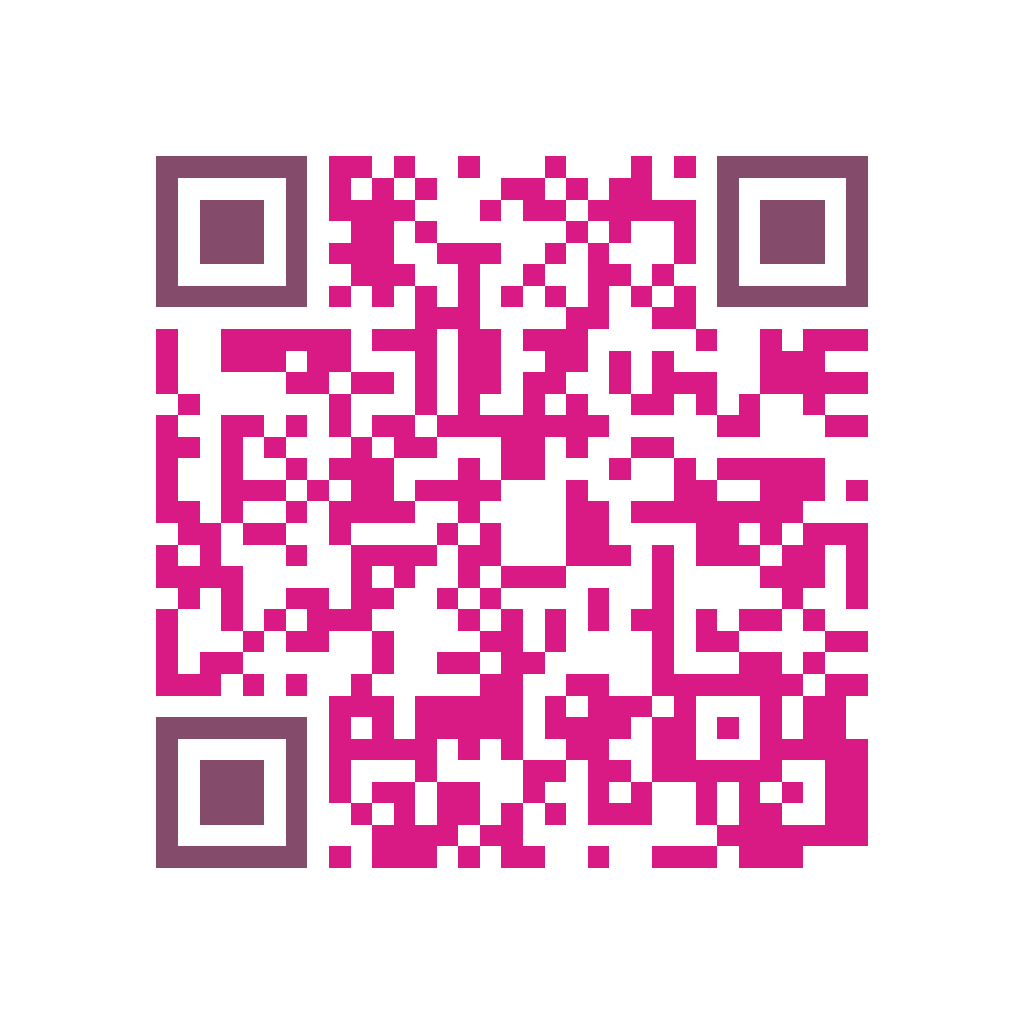
Schedule a free USPS pickup by scanning the QR code

Drop off your package in a UPS center
Place the package in your mailbox

Drop off your package in a FedEx center
Place the package in your mailbox
Warnings:
This product has not been FDA cleared or approved, but has been authorized for emergency use by FDA under an EUA;
This product has been authorized only for the detection of nucleic acid from SARS-CoV-2, not for any other viruses or pathogens; and
The emergency use of this product is only authorized for the duration of the declaration that circumstances exist justifying the authorization of emergency use of in vitro diagnostics for detection and/or diagnosis of COVID-19 under Section 564(b)(1) of the Federal Food, Drug and Cosmetic Act, 21 U.S.C. § 360bbb-3(b)(1), unless the declaration is terminated or authorization is revoked sooner
Instructions
01
First, blow your nose to improve the accuracy of the test results. Wash your hands for at least 20 seconds with soap and water, then dry thoroughly. Review the checklist:
- Vial with liquid content
- Sealed swab
- Biohazard bag
- Prepaid USPS return label
02
Open and take the foam swab out of its package on the handle side. DO NOT touch the foam tip of the swab with your hands.
03
Insert the tip of the cotton swab into 1 nostril. You should not be able to see the cotton end once inserted. Swirl the swab in a circular motion at least 5 times to ensure accurate results.
Do the same for the other nostril
04
Unscrew the top of the collection tube.
Place the swab into the collection tube. The end of the cotton swab that went into your nose should be placed into the tube first so that it sits down in the liquid.
Screw the top of the collection tube back on.
05
Wash and dry your hands thoroughly. Place your sealed tube into the biohazard bag. Use the zip lock seal on the biohazard bag to close it securely. Fold the biohazard bag in half.
06
Make sure the specimen is securely sealed in the biohazard bag. Place it into the box and close the lid.
07
Place the return label on the box and seal it.
Your results will be sent to the email provided during your initial order. You may also use your barcode ID to track the status of your results using this link
08
It is important to ship your sample the same day you collect it. You may ship your kit back via USPS through any one of the following options below:
Drop off your package in a USPS center
Place the package in your mailbox

Schedule a free USPS pickup by scanning the QR code
Not sure what to do?
Get help in taking the PCR Test
Initiate a video call with our support team and they will guide you in taking your PCR test!